We have a tiny project to share this week. And while not a total remodeling project, and just a man cave refresh, it did require a big mess and a little gnashing of teeth.
If you’re interested, keep reading!
This all started with the brick wall in hub’s man cave. We liked it, but that room is very dark and the (faux) bricks made the room even darker.
So we (by which I mean HE) did a German schmear finish. And that helped. But I never loved it.
And then. I got the idea to do a painted brick wall. Another project for the hub. And really, this is mostly his fault because he won’t let me near a paint can. Apparently painting is not my super power.
The room was very, very crowded. Number one reason could have been the gigantic TV he bought. But a big problem was all the Internet paraphernalia in there.
Since that was originally our office, it housed the connections for everything plus the printer. We had a shelving unit primarily holding all that.
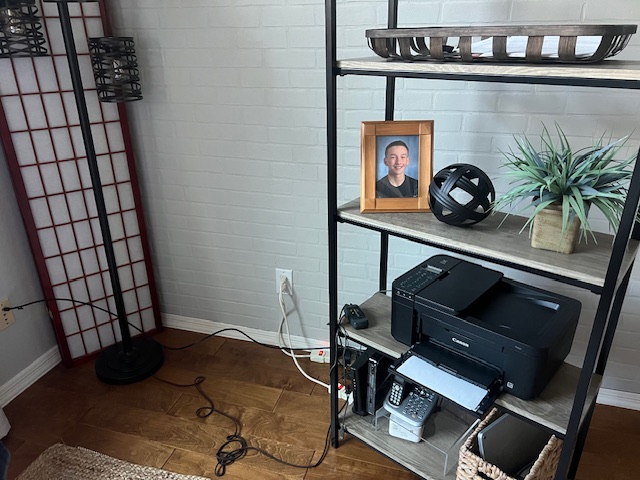
If you’re wondering who is the handsome young man in that picture, it is our grandson Conner. He is Ryan’s son and lives in Montana.
Brick Wall
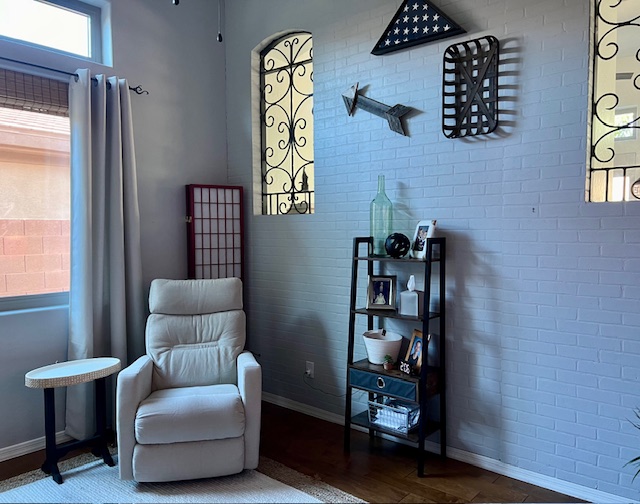
Hub took a trip to Benjamin Moore and bought a can of paint to match the rest of the room since what we had left had dried up. Turns out paint still costs a king’s ransom. No problem, we cashed in a gold brick.
One coat covered it nicely, so we have a lot of paint left over. He got it painted quickly considering those dang 12 foot ceilings and the ladder climbing.
And while the room is still darker than the rest of the house, it lightened up immediately.
Internet Equipment
The man cave shares a wall with our family room. There is a fireplace in the middle and niches on either side. Those niches are going to get addressed in a future project, but for now, one is housing all the Internet equipment.
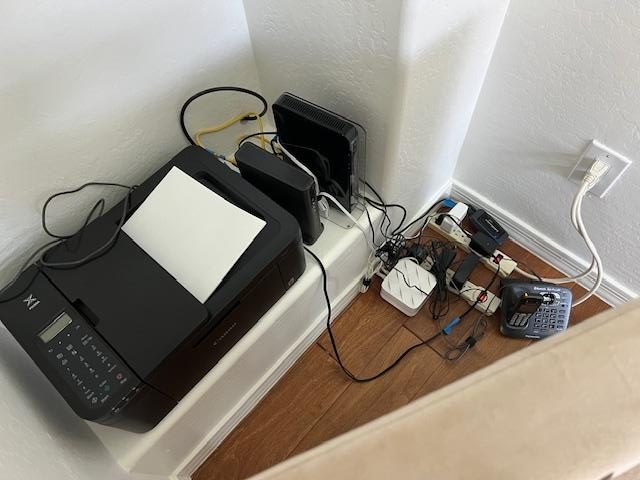
Hub drilled a pretty small hole in the wall and fished through all cords and cables and put everything on the far niche in the family room.
The niche is in back of the chair. So nobody sees it. Score!
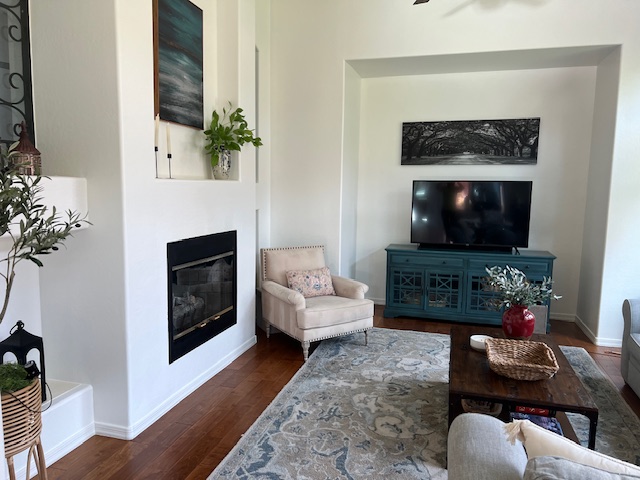
I took the opportunity to label all the cords for future reference.
That freed up a lot of space in the room and allowed us to lose that shelf.
Media Console
The ancient console table he was using didn’t match anything and was sort of falling apart. We ordered a floating console from Wayfair that perfectly matches the desk.
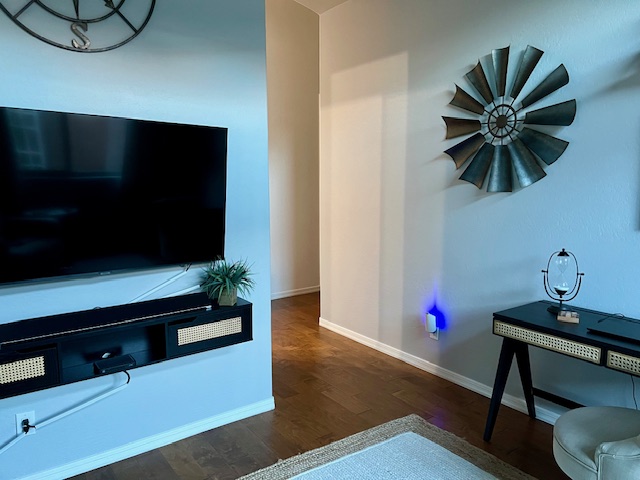
The idea was to mount the console and place the TV on top. We measure the width to make sure the TV would fit, but never thought to measure the depth so the TV legs would fit.
Well, they didn’t. Enter the gnashing of teeth.
Any bigger console would be defeating the purpose of saving space, so I didn’t want to return the console. Especially since it took him the better part of a morning to put it together. Yikes!
Costco to the rescue. He found a wall mount that would work and then got to do yet another project hanging that TV.
The process for that is shared on this post.
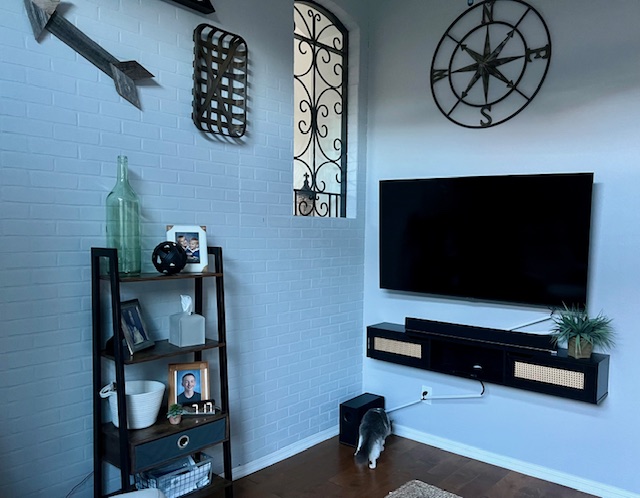
The cords look so tacky hanging down. Using these cord covers from Amazon helped a lot. They are paintable to match the wall color, but their color is close enough so we haven’t done that.
Rearranging Furniture
I really wanted to place the TV on the brick wall but the fireplace box made that process very difficult so we abandoned it and left it on the wall where it was.
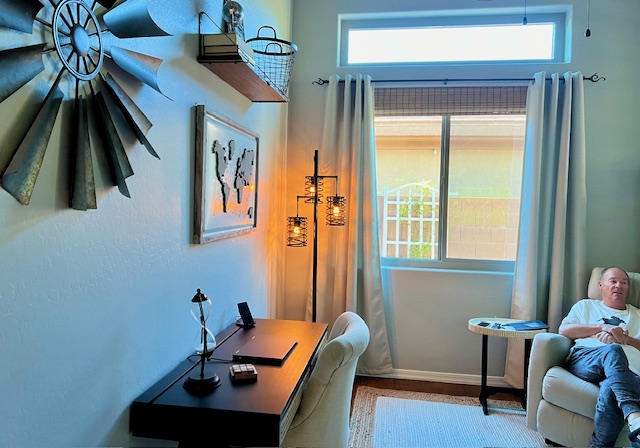
Furniture basically all stayed in its orginal position except his shelving unit got moved to the brick wall after we moved out the Internet shelf.
His standing lamp went to the corner where his shelf had lived.
And like always, there was a big mess to clean up before we got to this stage. It’s always my favorite part to share. When my house is destroyed!
Wrap Up
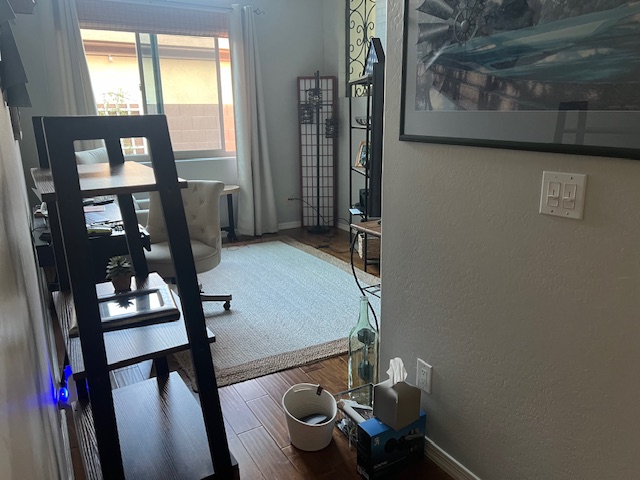
Pretty small changes in the outcome, but it did take a bit of a journey to get there. I guess it was worth it.
What do you think?
Thanks for coming along and have a great week ahead.

Great job John! Ok, Corine too!😂😆It looks great. Much roomier, snd I love the soft color.
Thanks, Chris. I’ll pass along your kudos to John.
Exhausted reading this😃great job
Hahaha!